How to Build Your First Chatbot Flow (WhatsApp Only – Using Acele)
Creating a simple WhatsApp chatbot with Acele is easy and beginner-friendly. Follow these steps to set up your first automated flow:
✅ Step 1: Choose the Platform
Acele is focused on WhatsApp automation. Before you begin, make sure:
- You have an active Acele account.
- Your WhatsApp Business API is connected to your Acele workspace.
✅ Step 2: Create a Simple WhatsApp Chatbot
After connecting your WhatsApp Business account:
- Log in to Acele
Go to your Acele dashboard. - Access Flow Builder
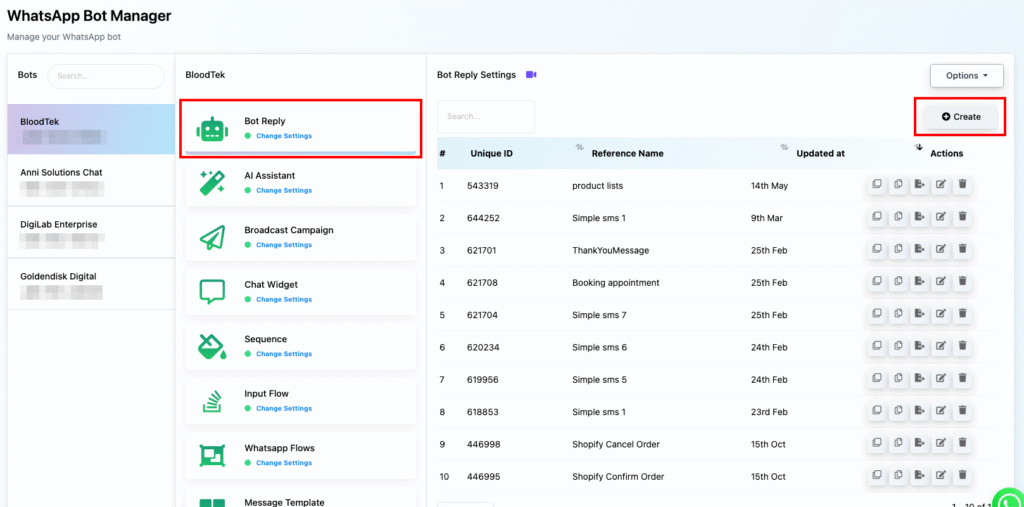
Navigate to Chatbot Manager → WhatsApp Bot, then click on your connected bot.
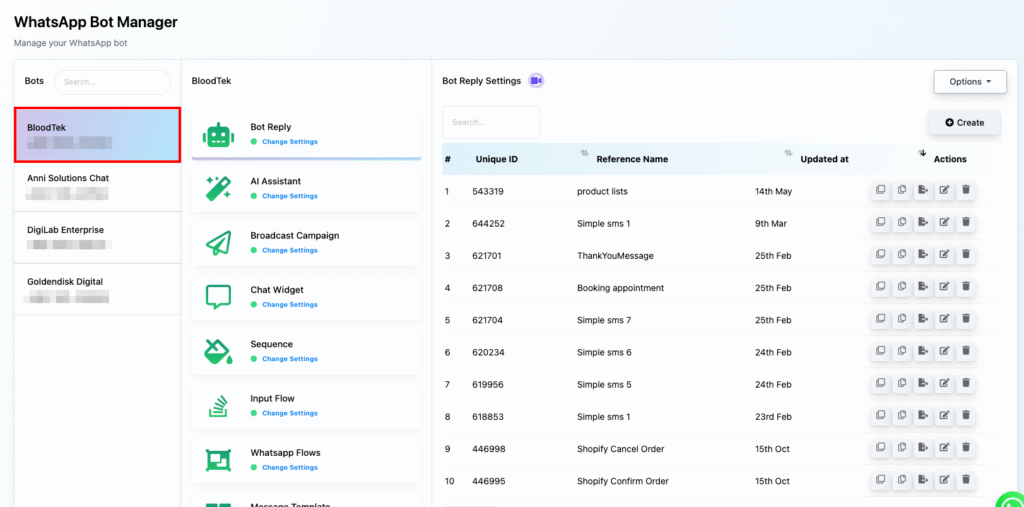
- Create New Flow
Under Bot Reply, click the Create button to begin a new bot flow.
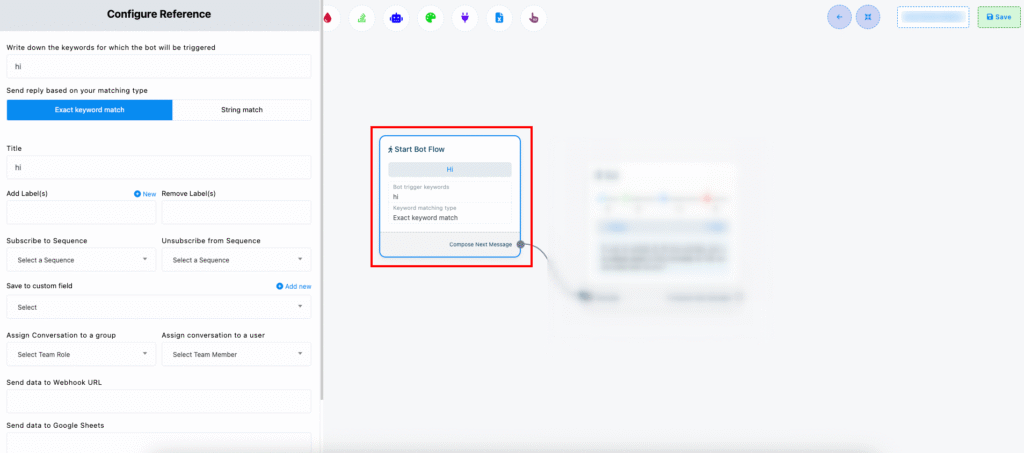
- Set Trigger Keywords
Configure the first step to respond to a keyword likehello,start, orhi. This keyword will activate the chatbot.
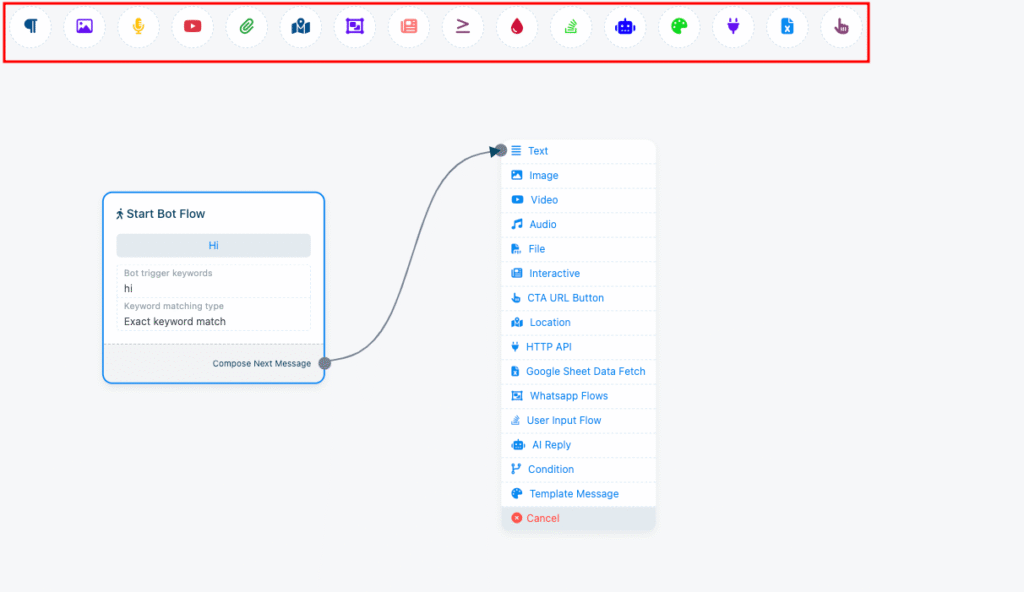
- Add Components Using Drag-and-Drop Builder
You can add:- Text Messages – for replies
- Images, Videos, Audio – to make replies visual
- User Input Fields – to collect user details like name, phone, etc.
“Hi there! 👋 Welcome to our WhatsApp service.”
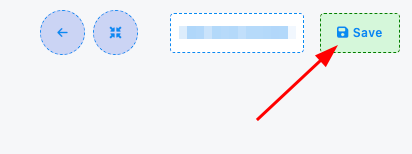
- Save the Flow
Once done, click Save to publish the flow.
✅ Step 3: Test the Chatbot
Now test your WhatsApp chatbot by typing the keyword (hello, etc.) on your connected WhatsApp number.
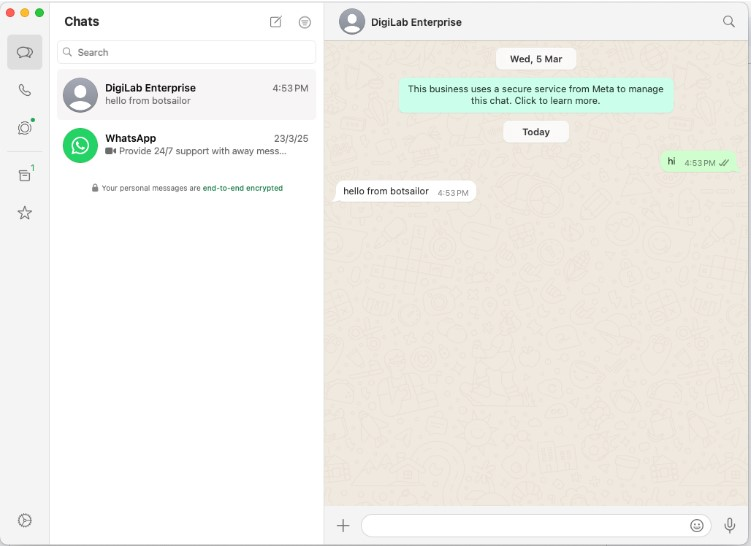
If the bot replies with your defined message, your flow setup is working correctly.
🎉 Conclusion
That’s it! You’ve just created your first WhatsApp chatbot using Acele.
With this foundational setup, you can now add advanced automation, sequences, user input collection, or API integrations — all inside Acele’s powerful Flow Builder.
Let me know if you’d like to convert this into a PDF guide or embed it inside your help section.